
Homemade Dried Fruit Snacks that are Healthy
One of the best and healthiest snacks you can make for your family are homemade dried fruit snacks. The fruits are a great snack to have any time of the year and are a healthy alternatives to chips and other convenient snacks that are often filled with preservatives and artificial dyes.
Some of the links on this page might be affiliate links. View my Privacy Policy for details.
This is not exactly a recipe, but rather a small guide based on years of experience in dehydrating fruit. Read on to find out more about drying (or dehydrating) fruits, what equipment is needed, and what the best fruits for drying are, in my opinion.
In this post…
Ingredients for Homemade Dried Fruit Snacks
To make any kind of dried fruit at home you will, of course, need the fresh fruit. Look for fruits that are in season as they will be cheaper and will taste better. If you have fruit trees, that’s even better. Dry the fruits as they ripen and the harvest time of the fruit arrives. Below I list out the fruits I have dried and my experience as well as recommendations for them.
Equipment for Making Dried Fruit Snacks
Baking Sheets and Drying in the Sun
If you live in a hot, dry climate (or at least one like that in the summer/fall), you don’t need any extra machinery to make dried fruit snacks. Just a few baking sheets to lay out the fruit on and some kind of netting to cover the fruit (e.g. cheese cloth) so that you don’t get insects on there . Then, just cut the fruit into desired size and place in the sun to dry. This is how my grandma and parents dried fruit in Kazakhstan back in the day and I think they still do it like that today.
Dehydrator
Unfortunately, living in Germany, I am not able to dry my fruit in the sun because it just doesn’t get hot enough around here or when it does, the nights cool off so much it would take too long to dry fruit (or you’d have to bring in the trays for the night which is a hassle).
Because of that I bought myself a dehydrator years ago and have been using it ever since. I have a rather small, round dehydrator that was relatively inexpensive (maybe 30-40 EUR). I’m not 100% happy with it because it is kind of small for my needs and I don’t like the round shape. Plus, the trays are made of plastic.
Once my dehydrator gives up the ghost or I finally decide to get a new one, I plan to get one like this Magic Mill dehydrator. I want square trays to be able to make fruit leather (cutting out parchment paper for a round dehydrator gets annoying fast). I want plastic-free trays since it does heat the food (though thankfully not by too much). And I want a much bigger dehydrator so I can dry way more fruits and other things at a time.
If you don’t have a dehydrator just explore the Amazon page for dehydrators to see what best fits your needs. And remember, you don’t need the most expensive one to start out drying fruit.
Oven
This year was the first year I used my oven extensively for dehydrating fruit. My in-laws had a good crop of plums and there were just too many at once. So with my dehydrator running full-time and needing to use up the fruit, I ended up turning on the oven.
You will need to make sure that you have the door of the oven open a bit so that the warm, damp air can escape. A folded kitchen towel placed in the the crack between the oven and the oven door works great for that.
The biggest downside for using the oven is that you have the oven running in the kitchen at a time when it might be quite hot outside and you might want to avoid turning on the oven. You also can’t use the oven for making dinner. Or you will need to remove the fruit, bake something, and place the fruit back in once the oven has cooled a bit.
Tips and Tricks for Drying Fruit
Temperature – I dry most of my fruit at 70° C (158° F). Based on the guide that came with my dehydrator, that seems to be the best temperature for dehydrating fruit fast(er) and not actually baking it. Plus it’s the highest temperature that my dehydrator goes to. With that said, some fruits, like Mango, might require a lower temperature. Consult your dehydrator for details and if drying fruit in the oven, start off with 70° C (158° F) and adjust from there.
Size – The size you cut your fruit to will determine how long it dries. The bigger the pieces, the longer the fruit will dry (duh!). But also, some meatier fruits will take longer to dry even if they are smaller. In my experiences, plums (especially) and cherries take longer to dry than apples and pears.
Consistency – I like my dried fruit to be on the chewy side so I check it periodically during drying and remove once it reaches the consistency. Some fruit also taste great when they are dried like chips. Think Apple chips. I would cut those thinly to reach that consistency and let them dehydrate until they are completely dry. Other fruit, like plums, would maybe break your teeth if they are completely dry (though I never dried them to that consistency. lol). Anyway, this is a preference thing and the fruit should just be checked periodically until desired consistency is reached.
Time – The drying time for each fruit will differ based on the size the fruit is cut to and the consistency you desire to achieve. I will try to list my approximate drying times for each fruit below (based on my experience).
How to Store Homemade Dried Fruit Snacks
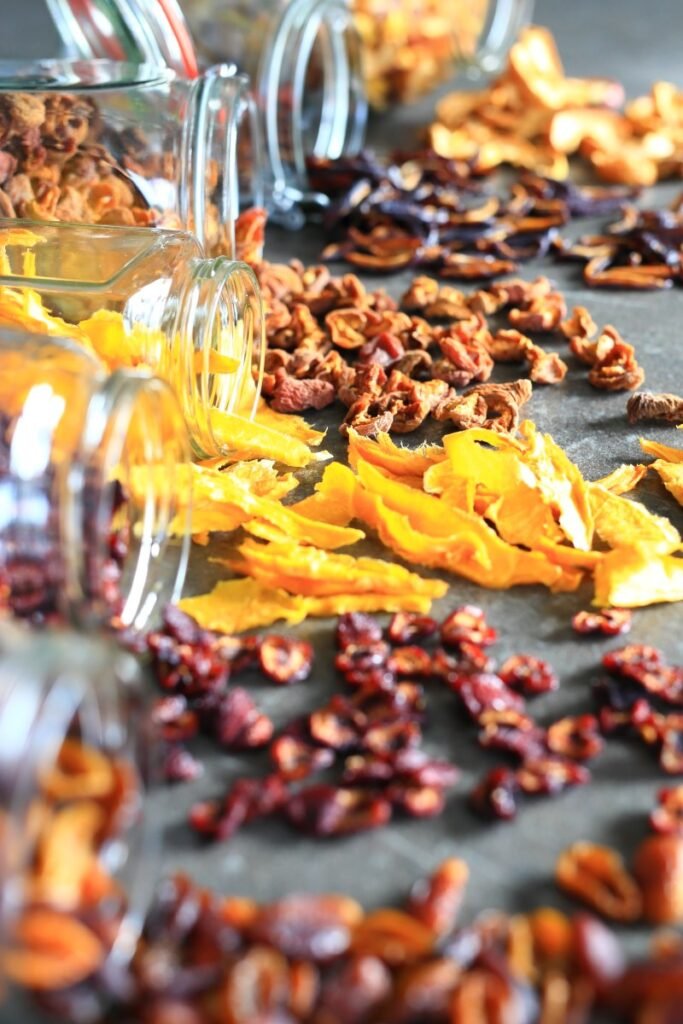
Store homemade dried fruits covered in a glass jar or container. Mine are almost identical to these 1 Gallon Glass Jars available here. I got mine from my mom-in-law who had a lot of them standing around. These are perfect for storing large amounts of, well, anything really:)
I also remember my grandma storing dry fruit in large material bags (think pillowcase size) back in the day and they never went bad. So that might be an option as well, though the jars are easier to stack on a shelf.
How to Serve Dried Fruit Snacks
So once you have a whole bunch of these goodie dried fruit snacks, how do you serve/use them. It might be kind of a weird or obvious question, but here are all kind of great ways to enjoy the fruits of your labors:
- Kids’ lunchboxes – Pack them into your kids’ lunchboxes for a healthy snack on the go
- Road trip – on our last trip to Italy we ate almost a gallon-sized bag of all kinds of dried fruits. So handy and no mess.
- After dinner treat – I love mixing a bunch of different fruits in a glass bowl and just placing on the table. People love these a lot!
- With nuts – add your favorite nuts to a mix of dried fruit and make a trail mix.
- As a topping – add to your favorite cereal or porridge and serve for breakfast.
- Baking with Fruit – Some recipes use dried fruit for baking or cooking. I don’t have any recipes like that since I generally don’t like fruit in my cooking (or baking). However, this page from Taste of Home will give you a lit of all kinds of recipes (sweet and savory) that use dried fruit.
Dried Apples
My most dried fruit around here is apples and that is because they are widely available and are pretty cheap. They also dry faster than some of the other fruits allowing me to dehydrate more fruits in a shorter amount of time. I just cut the apples into slices, lay them out on the trays and dry for as long as needed.
Time to dry: approximately 16-20 hours
Tips: To reduce the drying time even more, peel the apples before drying (though personally I never do this).
Short video to illustrate how I dry apples:
Dried Plums
One of our family’s favorite dried fruits to eat are plums. We just love how chewy and tangy these are. It’s hard to stop eating these.
Time to dry: approximately 20-25
Tips: If you cut the plums into fourths lengthwise, they will take less time to dry
Here is a quick video I made of drying plums:
Dried Pears
Pears are also a favorite to dry around here. Unlike some other fruits, pears end up really sweet when dried which makes them especially attractive to kids. Note, make sure you have juicy and sweet pears before you start otherwise, they will just be bland. I don’t always dry pears because it’s hard to find some that are tasty. Either they remain hard and never ripen, or they just don’t taste good.
Time to dry: approximately 16 hours
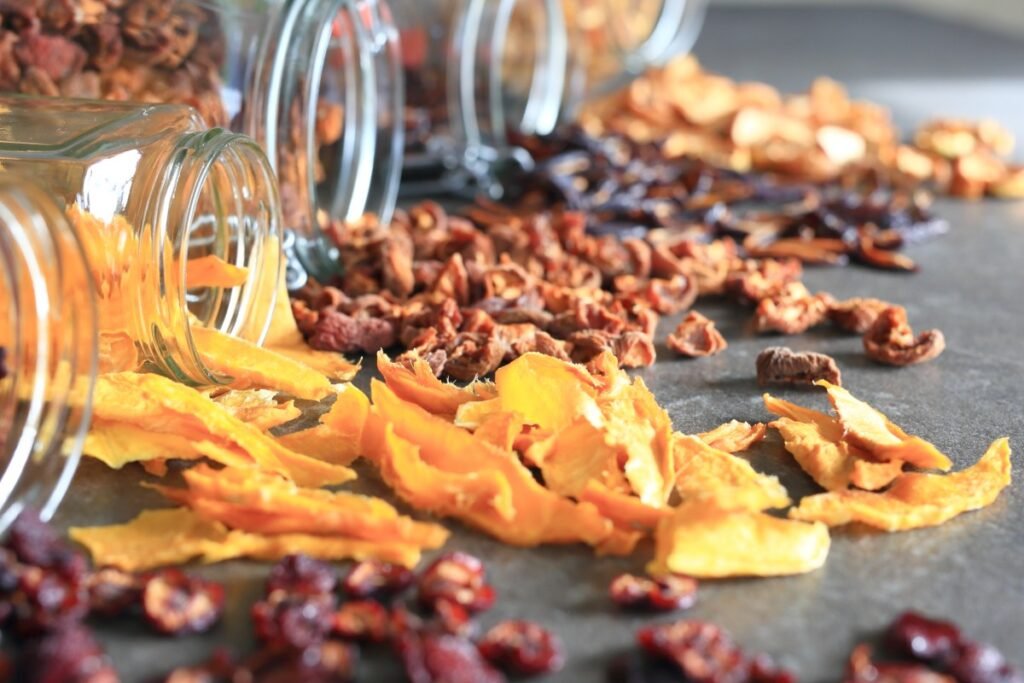
Dried Mango
Dried mango is also a big favorite around here. Mango is great because it dries really fast. In fact, it’s very easy to over dry it to the point where it turns into chips.
I usually start off with 70° (158° F) and go down to 60° (140° F) after a few hours.
Time to dry: approximately 8 hours . Start of with a higher temperature 70° C (158° F) and go down to 60° (140° F) after a few hours.
Tips: Make sure your mango is ripe and sweet otherwise it will be bland once dried. Let it sit out on the counter for a few days before drying if the mango is still hard.
Quick video for making dried mango. Notice how the cutting board is wet from all the juices. If the juice is not really runny, the dried fruit will be bland and tasteless.
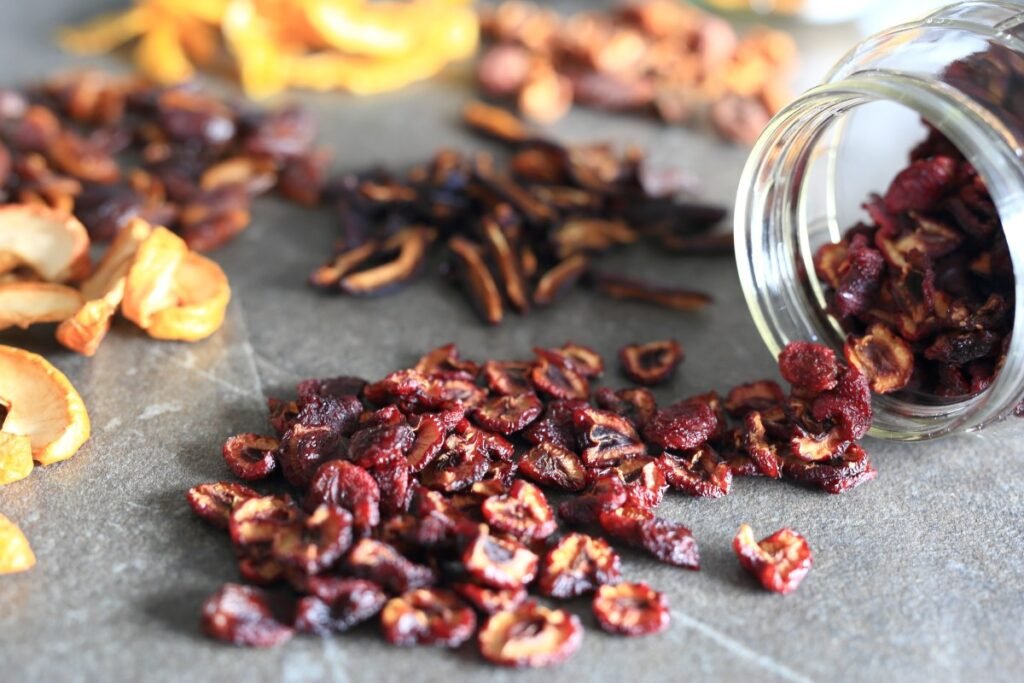
Dried Cherries
This year was the first year I tried drying cherries. My in-laws have a cherry tree in their garden and this year there were lots and lots of fruits. It took a little while to cut the cherries in half and pit them. After that, the drying was fine. Only they kept falling through my dehydrator trays since the holes were too big in some places:)
Time to dry: approximately 16 hours, more if the cherries are bigger
Dried Apricots
We love, love, love the apricots around here. The slightly tangy taste is intensified once the fruit is dry and the chewy texture is especially fun. It’s almost like eating a gummy bear candy or something. If presented with a choice, my child will always choose apricots and plums over apples and/or pears:) Every year I try to make more and more of these and hopefully I made enough this year to last us until next apricot season rolls around.
Time to dry: approximately 16-20 hours, more if thicker cut or left in halves
Video on how I dry apricots:
Dried Grapes (Raisins)
I only remember drying grapes a couple of times. We got a whole bunch of grapes from someone once and I was overwhelmed and didn’t know what to do with them. I made the mistake of just trying to dry them as they were and that took days! You need to cut the grapes in half or make some kind of an opening otherwise they will take forever to dry!!
The next time I did cut the grapes, and the drying time was better, but still took a while. I also didn’t like that the grapes kept falling through the holes of my dehydrator trays. Anyway, this is one fruit I think is easier to just buy instead of drying yourself
Time to dry: approximately 16-20 hours
Other Dried Fruit Snacks (and dried Vegetables)
Basically, you can dehydrate or dry almost any fruit. Fruits not listed in my descriptions, but ones I’ve dried before are:
- Mirabellen – a type of yellowish plum widely available here that’s about the size of cherries. Very sweet and also needs more time to dry
- Peaches – I usually just dry some when I have left over peaches that are becoming overripe. I don’t much like the skin of the peaches when dried.
- Nectarines – another good one that we actually like around here and I dry them when I have a few leftover, but mostly we eat them fresh.
- Tomatoes – I’ve made “sun-dried” tomatoes before. My biggest problem with these is that I forget to use them and/or don’t have that many recipes that require them.
- Mushrooms – good way to preserve mushrooms if you have a lot. They also dry super fast. However, I dislike using them because I can’t get them to re-hydrate properly (even after boiling in water or letting stand in water overnight) so they end up being rubbery even in soups.
Recommended Tools for making Dried Fruit Snacks
I would really recommend getting a dehydrator for making dried fruit. If you’re in the market for one, get one with square trays that are non-plastic. Explore the Amazon page for dehydrators to see what best fits your needs. And remember, you don’t need the most expensive one to start out drying fruit.
Otherwise, you can also just use your oven and a couple baking trays for drying the fruit. The disadvantage is that your oven will be in use for many hours and it will probably warm up your kitchen a bit.
More Easy Recipes for Homemade Snacks
Here are some additional snack recipes that are favorites at our house:
Lastly, if you liked this post on dried fruit snacks and end up making something, let me know what you make and what your experience is. I’d love to hear from you. And of course, don’t forget to tag me on Instagram if you’ve been inspired to make some snacks. I’d love to see the photos of the fruit you have made!