Panini Sandwich with Ham and Tomatoes
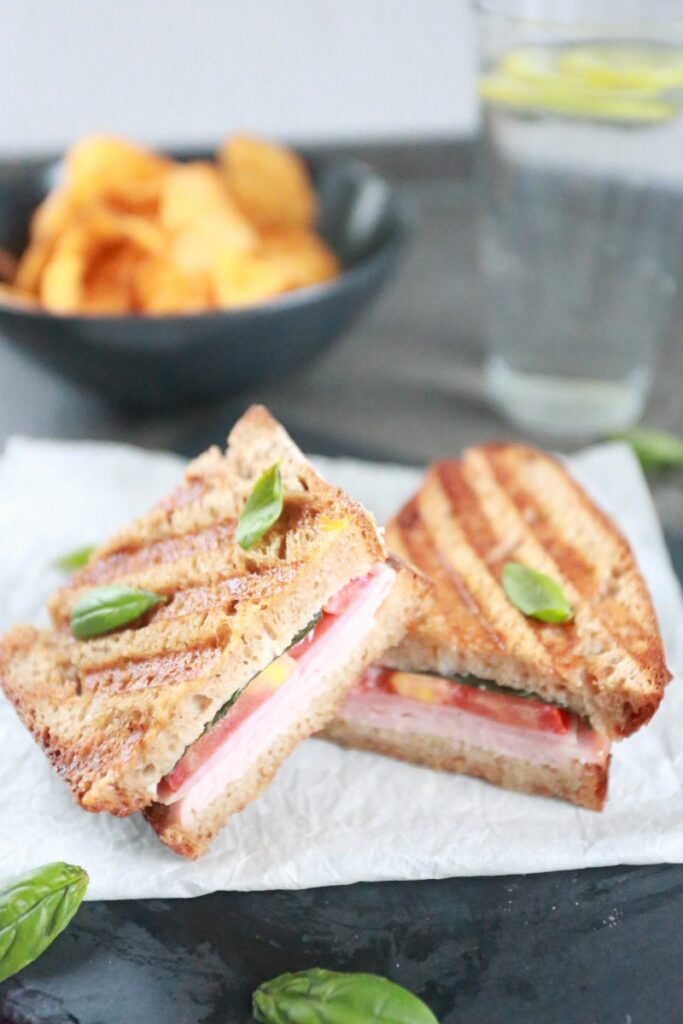
There’s nothing quite like a perfectly grilled panini sandwich. With its crispy exterior and melted, gooey interior, it’s the perfect comfort food for any time of day. It’s easy to assemble, quick to cook, and absolutely delicious. Give it a try and see for yourself – your taste buds will thank you!

Some of the links on this page might be affiliate links. View my Privacy Policy for details.
Equipment Needed for Making a Panini Sandwich
I use my T-fal OptiGrill to make this sandwich. We bought this indoor grill a year or so ago, and have really used it for a few different things. It’s perfect for making burgers, sandwiches, steaks and whatever else. It really comes in handy when you need to put a quick dinner or lunch on the table.
A George Foreman might be another great option if you have that or a specific sandwich maker. Also, some toasters have a press that you can use to make the sandwich. We used to have a toaster like that years ago at our house and we really loved it. I don’t see any toasters like that right now, but there is a toastie press sold separately that you can put into your toaster.
If you don’t have any of these, another option would be to just use a normal skillet and make this like a normal grilled sandwich.
Ingredients for Grilled Panini
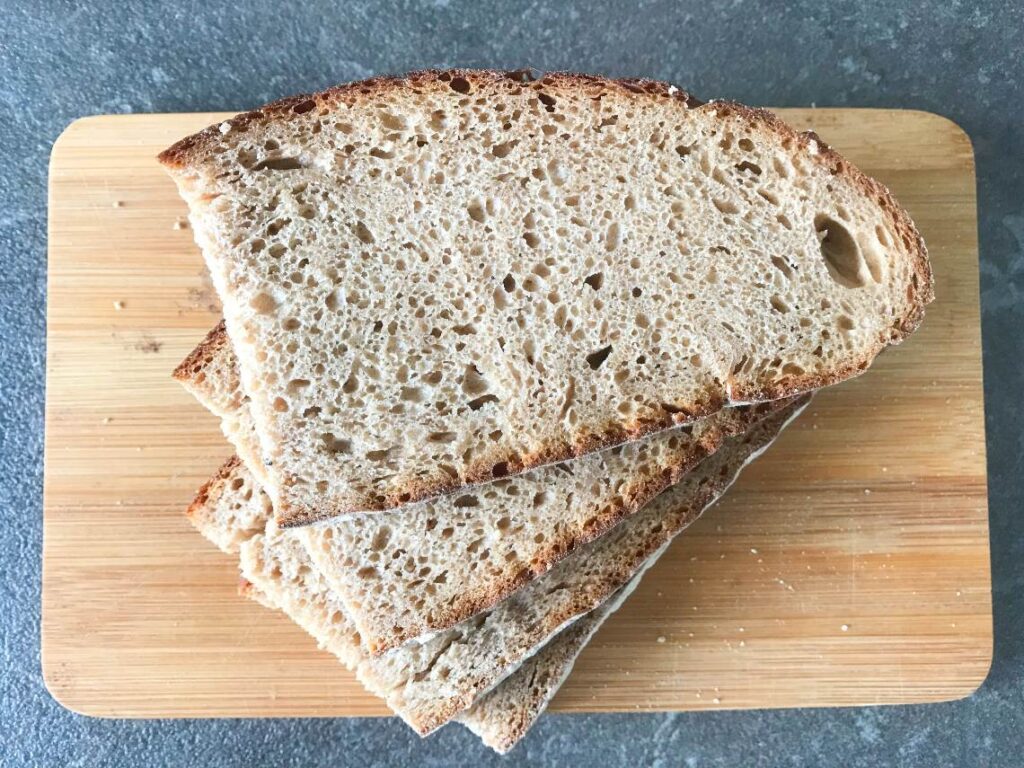
Bread – I used sourdough bread in this sandwich as that is what we generally have around here. It’s a bit chewy, and has a slightly tangy flavor that complements the other ingredients perfectly. With that said, use any sandwich bread you want. It will still be good.
Ham – Just normal ham from the deli. Use your favorite type.
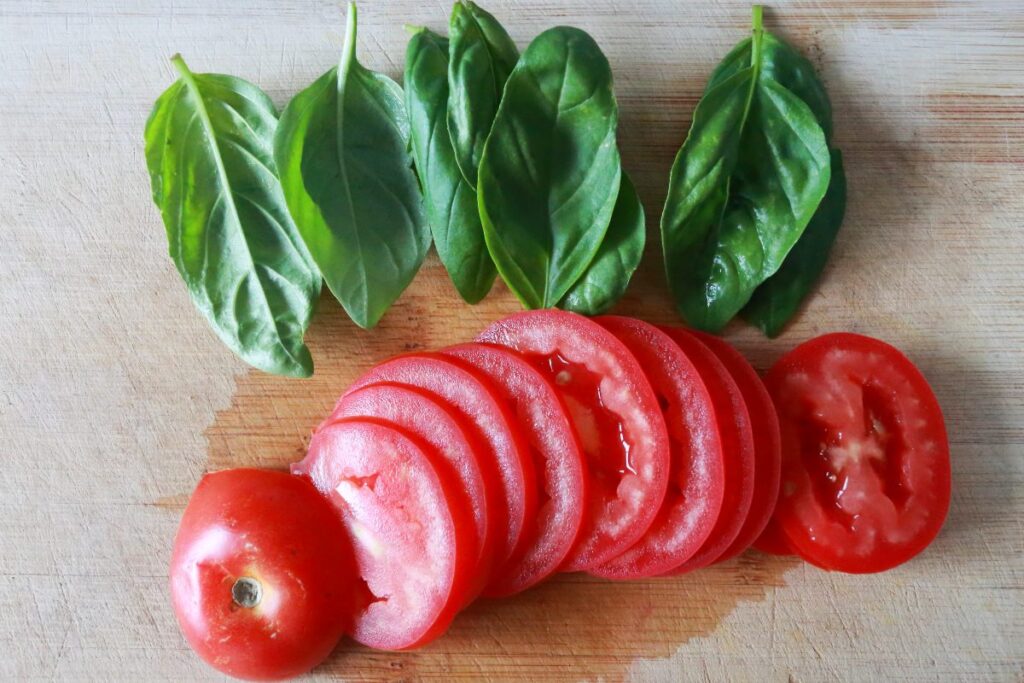
Tomatoes – fresh tomatoes that are big enough to use for burgers or sandwiches. Kudos if you can get some home grown ones! (I’m still waiting for my garden to start producing so sadly I’m still using store-bought).
Basil – Fresh basil leaves. The leaves provide a pop of color and add a little something to the taste. Skip if you don’t have any on hand. It will still taste good, though not exactly as the original.
Mayonnaise – any kind. I love the Hellmann’s brand and am so thankful we finally have them in Germany. Don’t skip this if at all possible. In combination with the tomatoes, this will give you a nice, juicy sandwich.
Butter – Gives extra flavor and crispiness to the sandwich.
Cheese – OPTIONAL. I don’t often like cheese on my sandwiches, so I skip it. If you’re a fan, and would like some cheesiness, just add a slice or two.
Instructions for Making Panini Sandwich with Ham
Gather your ingredients and then preheat the sandwich maker if needed (follow manufacturer’s instructions).
Slice the bread, tomatoes, and ham (if not already sliced) into thin slices. We like our bread to be a bit on the thinner size, just so you don’t have a mouth full of bread. Do whatever size you like.

Next, it’s time to assemble your panini. Start by spreading a thin layer of mayonnaise on one side of each slice of bread. This will help keep your sandwich moist while it’s grilling. Then, add a few slices of ham to one side of the bread.
Then, layer the juicy tomato slices top of the ham. My ham slices were pretty big so, so I used 2 slices at most, folding it over a couple times. Finally, add a few leaves of fresh basil on top of the ham. The basil adds a lovely, fragrant flavor to the sandwich that really sets it apart.

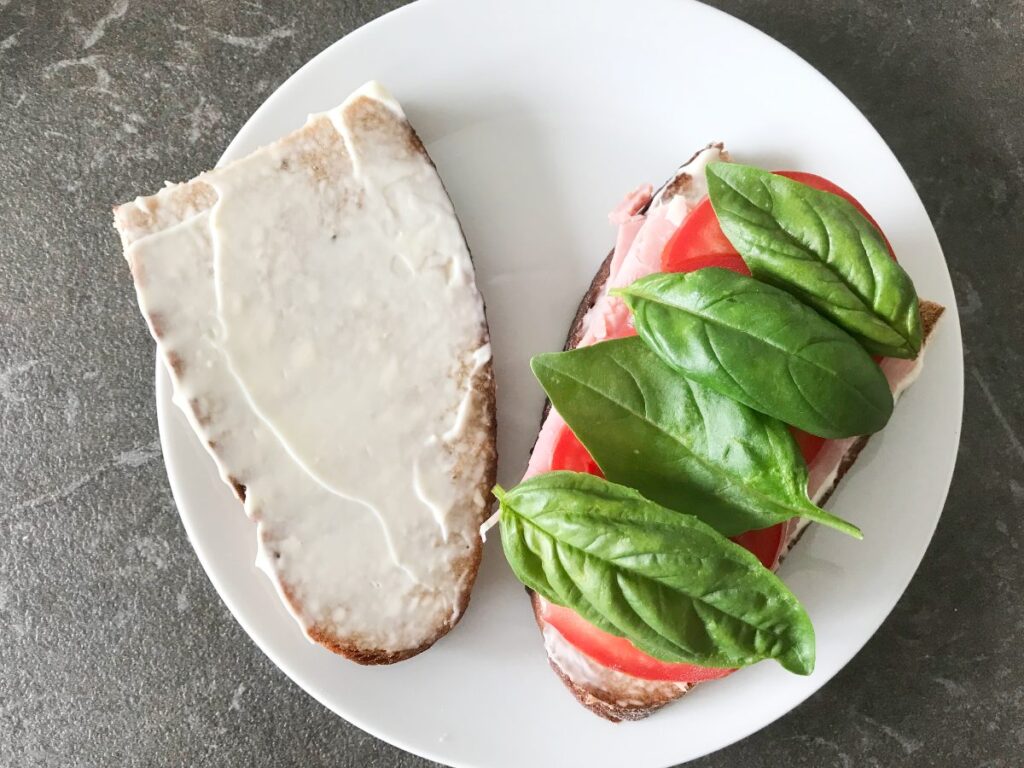

Butter the outside sides of the bread with butter. I butter both sides and just put it on the plate until it’s ready to grill. You can also butter one side and butter the other side directly before putting it on the grill. Or you can omit the butter to avoid the mess. But I do have to say that butter really adds to the flavor and crispiness of the sandwich. Butter = good, in my book:)
Once your sandwich is assembled, it’s time to grill it up. My OptiGrill needs a few minutes to heat up and is usually ready by the time I finish assembling the sandwiches.
Place your sandwich onto the grill (or pan) and cook for 2-3 minutes per side, or until the bread is golden brown and crispy (and the cheese is melted). My OptiGrill has a light that shows how far along the sandwich is, so I don’t even time it.


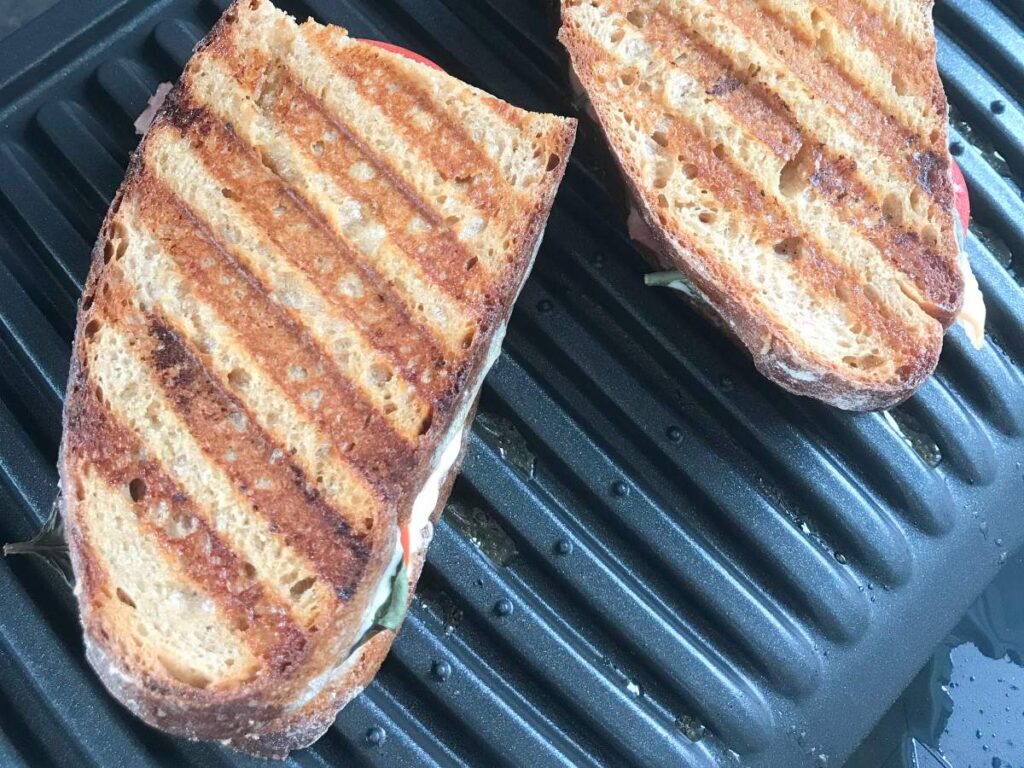
Once your panini sandwich is done, remove it from the grill or skillet and let it cool for a minute or two before slicing it in half. The warm, melty/juicy texture of the ham and tomato will make every bite a delight (and if you used cheese, you have a little extra gooeyness, as well).
Serve with your favorite side dish, some pickles, or a bowl of soup for a complete meal.

Lastly, if you make this Panini Sandwich, make sure to leave a comment and/or give this recipe a rating here! I’d love to hear back from you and will do my best to answer and respond to every comment. And of course, don’t forget to tag me on Instagram if you make this recipe. I’d love to see the photos of the recipes you have made!
Panini Sandwich with Ham and Tomatoes
Equipment
- Indoor grill, sandwich maker, panini grill, or skillet
Ingredients
- 4 slices Sourdough bread
- 1 Tomato
- 1 handful Fresh basil leaves
- 4-6 slices thinly sliced ham
- some Mayonnaise
- some Butter
- 1-2 slices Cheese any kind
Instructions
- Slice the tomato, bread and ham (if needed). Wash and dry basil.
- Preheat indoor grill or sandwich maker (follow manufacturer's instructions).
- To assemble, spread mayonnaise on two pieces of bread. Add 1-2 slices of ham, sliced tomatoes, 4-5 basil leaves, and cheese (if using) to one mayonnaise covered side of the bread. Cover with the second slice of bread. Butter the outside sides of the sandwich. Set aside and repeat with the second set of bread slices.
- Place the assembled sandwiches on the indoor grill or sandwich maker, cover with the "lid" and proceed to grill the sandwiches until done.
- Let the sandwich cool off for a minute before serving.

